Members Area
.png "What Is A Sticky Header And How To Implement It On Your Site?")
Introduction
Making elements of your page sticky means fixing them to a certain position on your page, and as the user scrolls down, they are still visible. There are quite a few popular options for making sticky elements, with the most commonly used ones being the sticky header and sticky menu. Even though the sticky menu has various perks for utilizing, today we are going to devote our attention on the sticky header. Let us first define what is a sticky header – it is a set of tools that is fixed to the top of your page, and moves as you scroll down the page it is always visible and is always positioned to the top of the page. Now that we defined what is a sticky header, we can proceed to an explanation on how to make one.
How to make a sticky header?
For making a sticky header, we are going to use a WordPress plugin named WP Sticky. It is a fairly simple tool that does an excellent job of creating various sticky elements.
After you installed, activated, and accessed the plugin, click on the „Add New Sticky Element“ button in the top left corner. Under the basic options tab, there is a tool called „Element nickname“, and there you enter the name of your element.
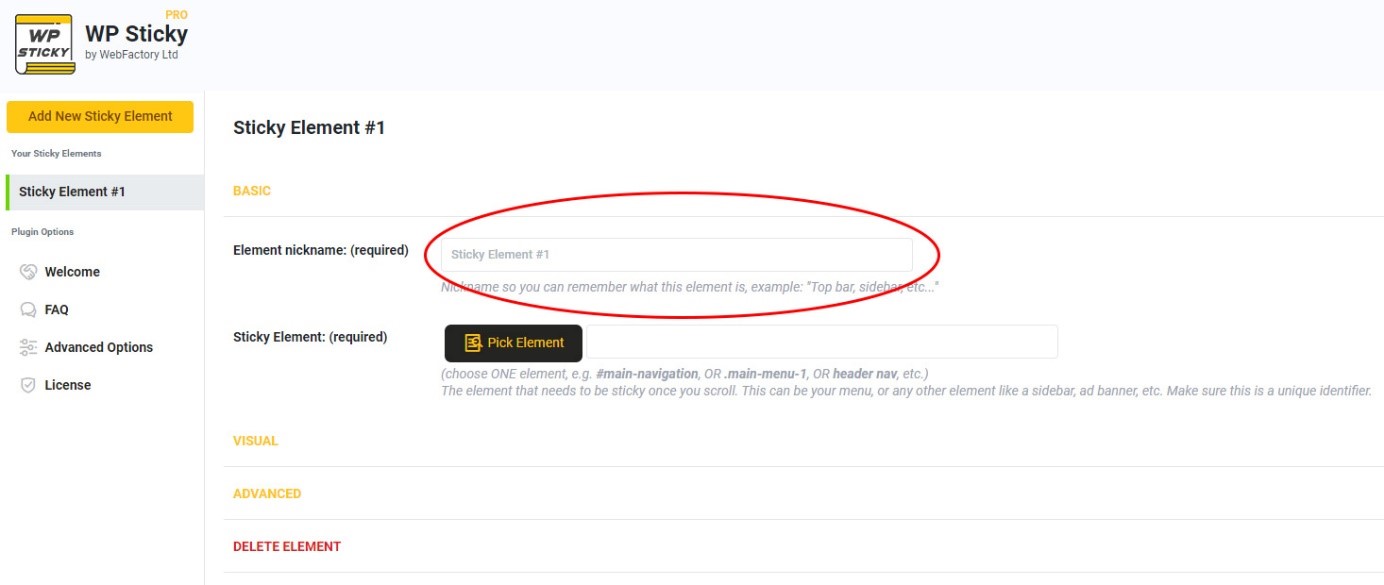
The next thing you need to do is to select the element you want to make sticky. This can be done in two ways.
The first way to pick the element is to go to the Basic Settings tab and click on the „Pick Element“ option. Then, your website will be loaded by the plugin, and you will have a WP Sticky menu on the top. When you move around the site, you will see some strange lines around the elements. This way, the plugin will help you find the identifier that you want to make sticky. After you pick the desired element, just click on it and the plugin will recognize the unique identifier and write it down for you.
Another way to pick the element is to write down the unique identifier by yourself. This method you can use when you already know the unique identifier of the element you want to make sticky.
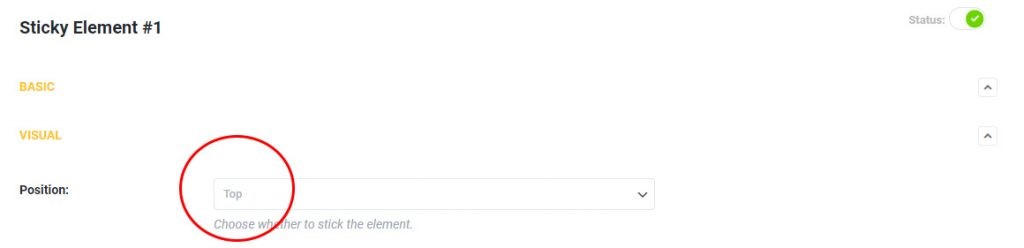
Once you pick your element, it is time to customize it.
When making a sticky header, it is only logical that it has to go to the top of the page, which means that in the visual options tab, you use the Position option, and select Top.
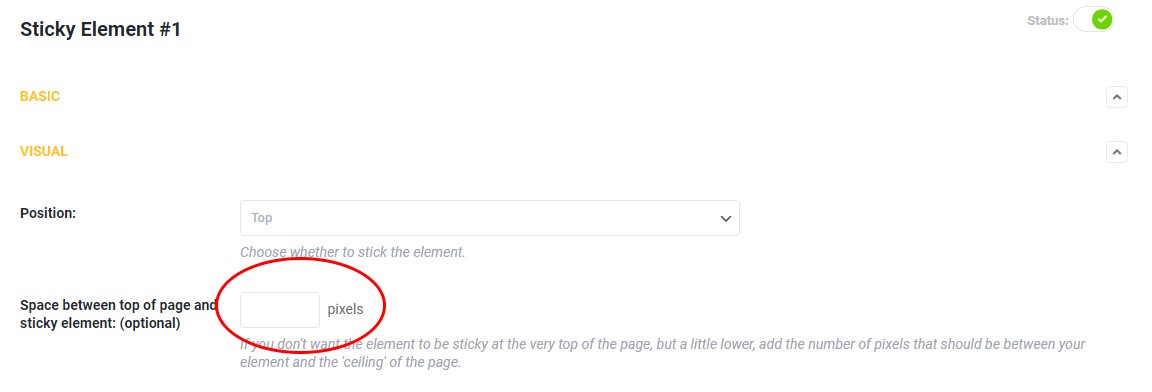
The next option you can use is „Space between the top of the page and sticky element“. This one is self-explanatory. Here you just need to write down the number of pixels you wish.
 The next option is „Check for Admin Toolbar“. It is used if the sticky element gets obscured by the Administrator Toolbar. It will let logged-in users have the same experience as those that are not logged-in. If you wish, you can turn this option on, but it is not necessary.
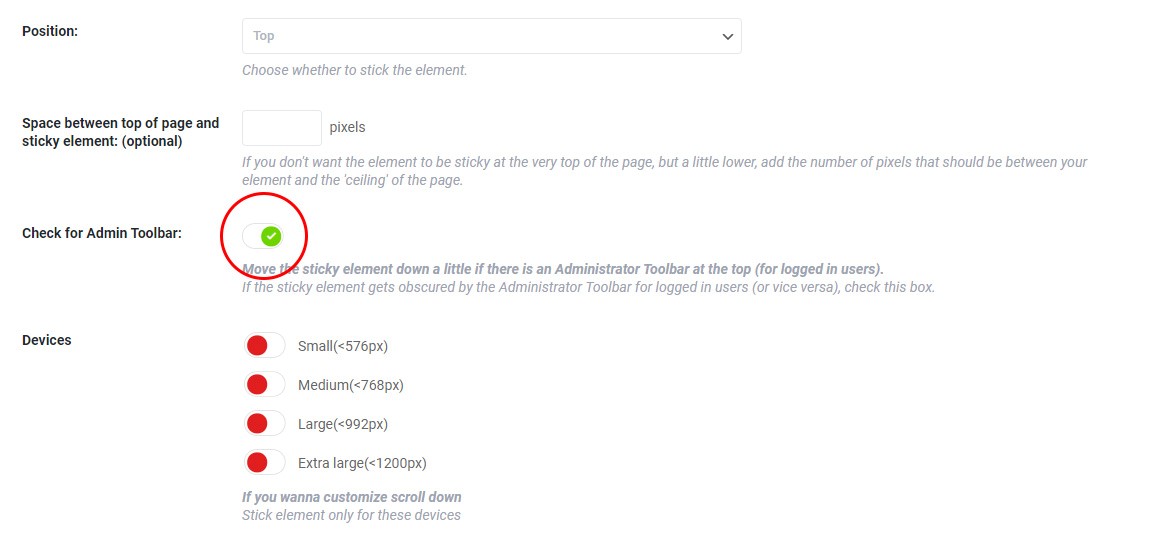
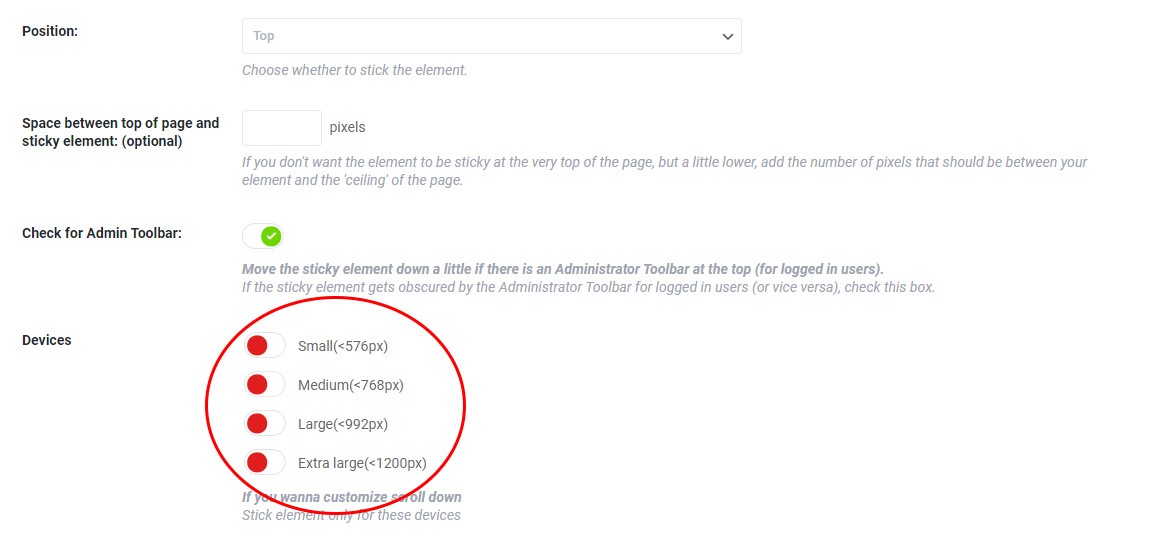
Following things up, you need to decide is on which devices you want your sticky header to be visible. In the „Devices“ option, you just turn on/off as you prefer.
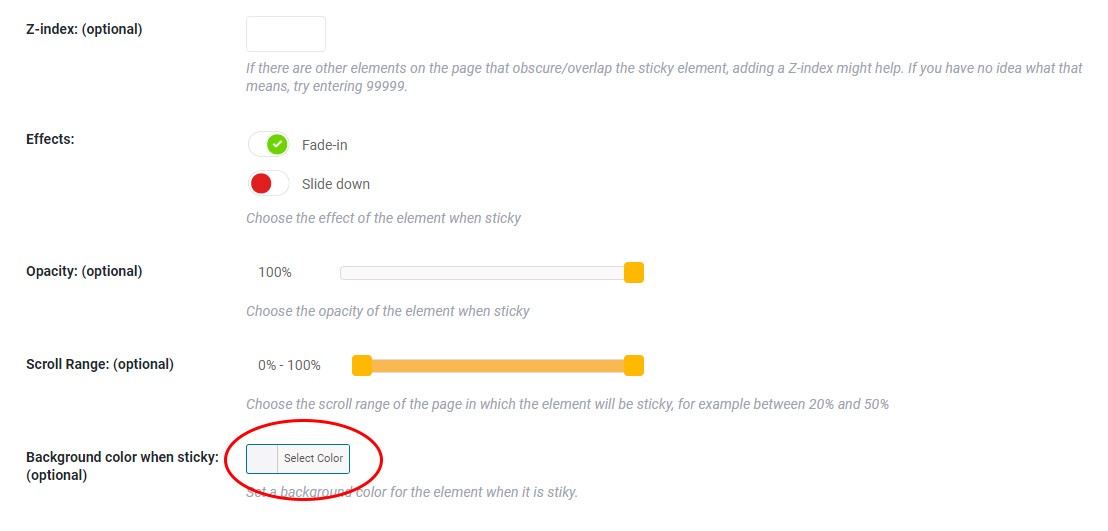
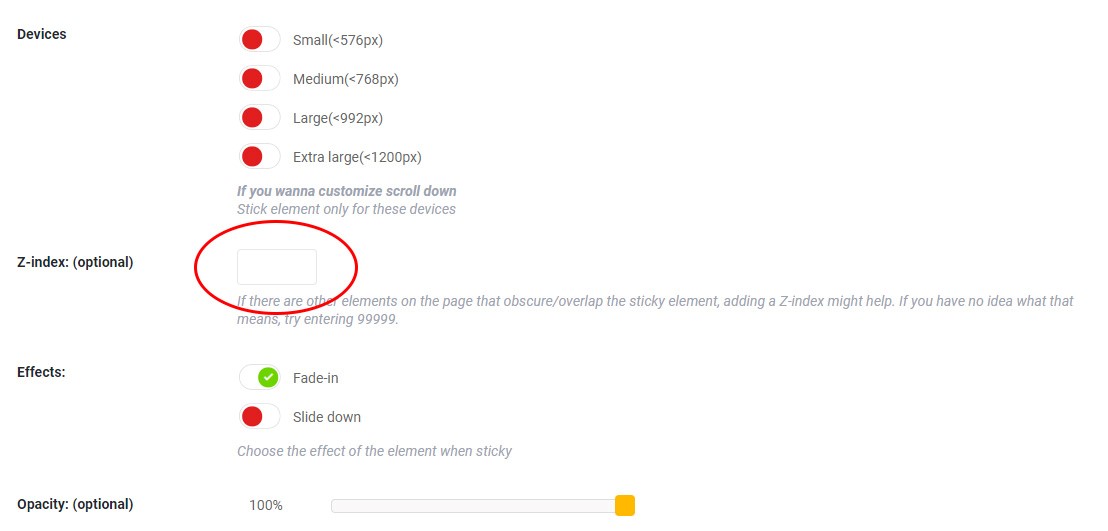
Upon finishing those steps, you need to decide on is the vertical stacking order of the elements that overlap. This can be done by using the „Z-index“ option. With this option, you decide if your sticky header shows in front of or behind other parts of the site. If you want your sticky header always stacked on the top, set the Z-index to 99999.
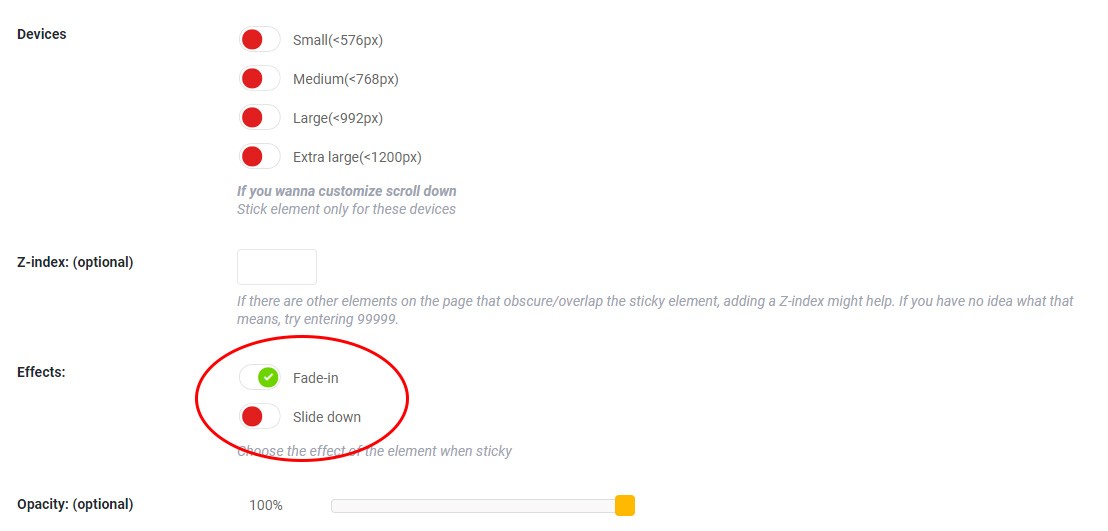
The next step is deciding on the effect of your sticky header, which can be achieved with the „Effects“ tool. There are two options available. Your sticky header can fade in or slide down. It’s a good idea to try out both of them to preview which one will fit your preferences best.
With WP Sticky, you can also change the opacity of your sticky header. Opacity, for those that are not familiar, is the tool that indicates how much your element is transparent. In the „Opacity tool”, there is a slider that you move right or left, to set the opacity you want for your sticky header. On the left side of the slider, there is a percentage number that can be useful. Slide right to make your sticky header more transparent, or slide right to make it less transparent, plain and simple. This tool you also set to your liking.
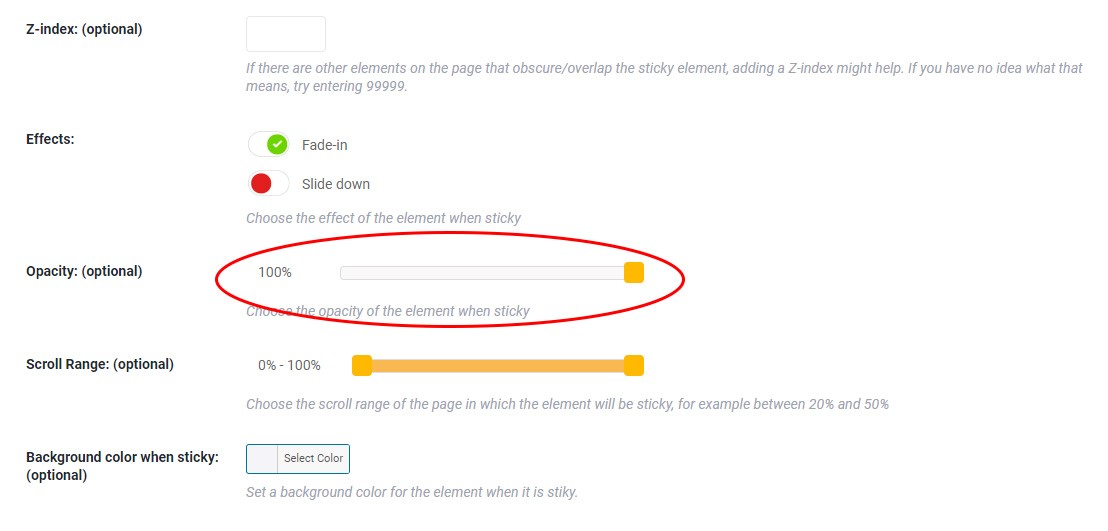
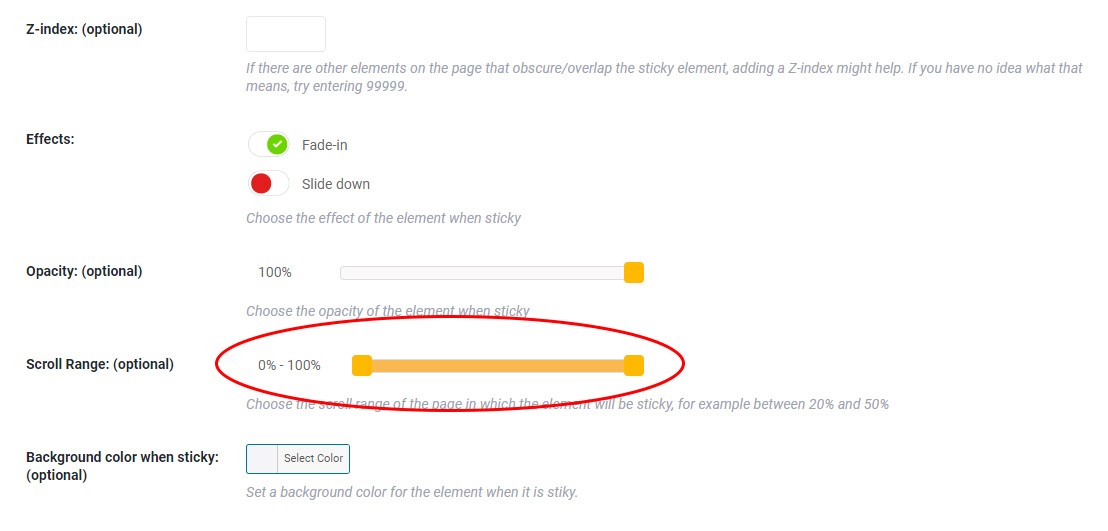
After setting up the opacity, the next feature that we are going to cover is „Scroll range“. This tool is made up of two parts. The first is the percentage part. It consists of two percentage numbers that indicate on which part of the page your element, in this case, the header becomes sticky, and on which it stops being sticky. The other part is a slide that is used in order to choose these two percentages. For example, if you make the first percentage 30% and the second 90%, your sticky header will become sticky after you scrolled past 30% of your page and will stop being sticky after you scrolled past 90% of your page.
The last thing you need to do is decide on the color of the background of your sticky header when it is sticky. This is done with the „Background color when sticky option“. In this tool, there is a box that you click, and there you can choose the color of the background of your sticky header. You also choose this optionally, as you like.