 Members Area
If your hoster provides a Quick Install option of WordPress (SiteGround includes this option) you are a lucky man! No coding or file editing is needed - just one click from hosting control panel and the WordPress platform is already at your service.
Unfortunately, this solution does not always fit your needs. For example, you want to build a website on a local host first and then move it to the live one. Most of professional developers work this way.
In both cases the process of installation is the same:
- WordPress archive is installed on your server
- Database is needed to save all the website changes
- User is created for this database
- And the last thing is to connect this database with your site with the help of wp-config.php file located in the root folder of WordPress CMS.
As I told before you don't have to keep in mind all these things if your hoster can do this by itself. But how can we start blogging or building a personal web page with WordPress on your local server or server that doesn't have a Quick Install option?
Get a great hosting
You may not think about it, but hosting matters a lot for your website. Edvardas Stabinskas who runs Hosting Wiki explains: “Interactions with the website are done via requests between website interface and the backend of the site. If the hosting is poor quality, it simply doesn’t have that many request numbers available. As a result, your website runs significantly slower.”
It’s something you can’t fix later on with programming or plugins. Make sure you choose a great hosting, and you’re off to a great start.
Download WordPress Archive
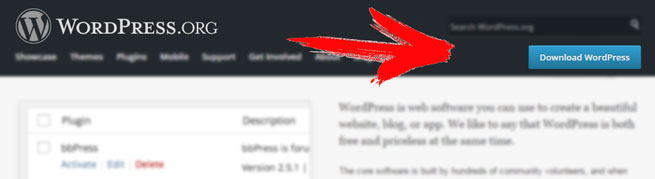
First of all you have to download the archive with the latest version of WordPress. We recommend to do this from the official WordPress website (wordpress.org).
Unpack The Archive To The Root Folder On Your Server
If you install WordPress on a local host you have to:
- create a new folder in the localhost/home/ folder,
- open it and create a new folder 'www' in it
- unzip WordPress into this folder
Rename Wp-Config-Sample.php file to Wp-Config.php
This file is the main connecting link between database and your site. Here we will specify the database name, user name and password created in phpmyadmin.
Create Database For WordPress
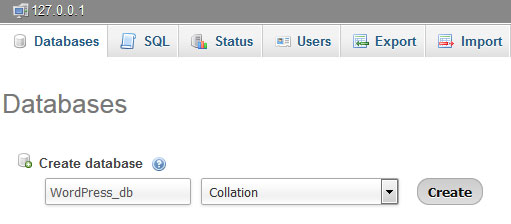
Open PhpMyAdmin - the inteface may differ from version to version, but it looks rather similar to the picture below.
Here you have to choose Database in the top navigation bar and press Create after entering a name for your database. Nice! Database is ready!
Now it is appeared in the list of the existing databases below and you have to click Check Privileges for user creating.
Create a New User
Press Add user and fill in the appeared form like it is shown below:
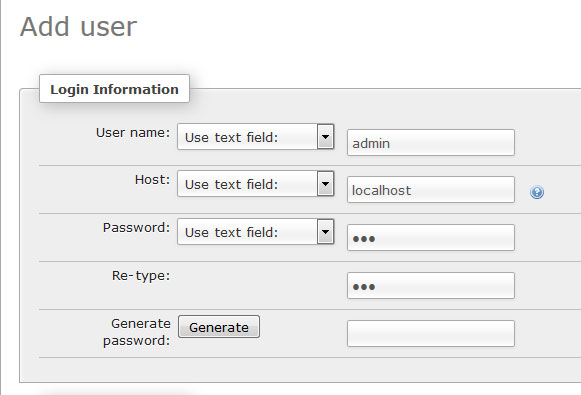
Choose "None" database for this user and check "All" Global Privileges. That's it.
Actually, you may specify any name and password (usually "123" for localhost and never for a live server (!).
Specify Database and User in Wp-Config.php
And now you have to write down this data into the wp-config.php file:
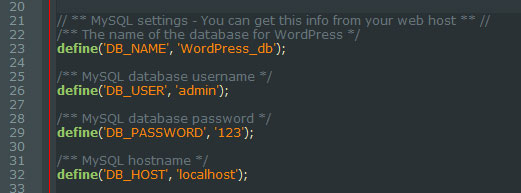
Save changes and Restart Local Host.
Was it easy or not? Depends only on your previous experience =)
But these steps definitly bring you to the blog start - open https://yourdomain/wp-admin/install.php page to start with WordPress right away.
First Steps With WordPress
So...you have created Site name, user for Dashboard and the reasonable question is "What must I do first of all?"
My strongest recommendation for you is to start with Settings -> Permalinks.
All the hints and tutorials are provided by WordPress but this is the most common problem for beginners. If you change permalinks after creating pages or posts - the permalinks will be broken.
Explore the power of this CMS and enjoy its usability and simplicity. Install any of free WordPress themes from our catalogue and you will get even more capabilities that are not provided by default.


